| Performance |
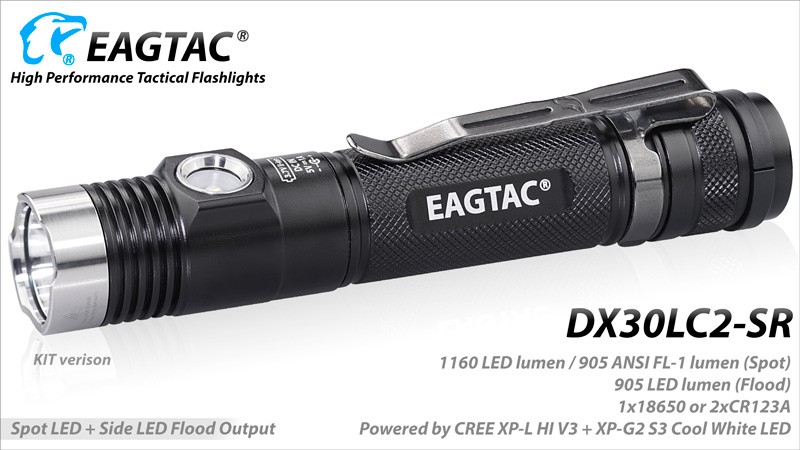
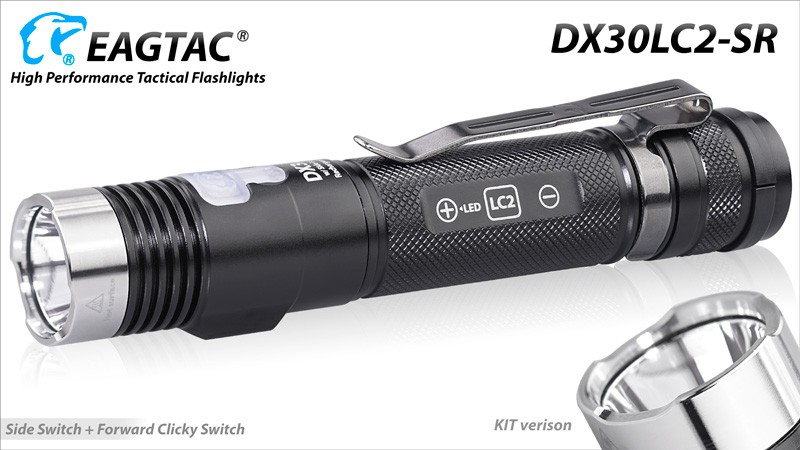
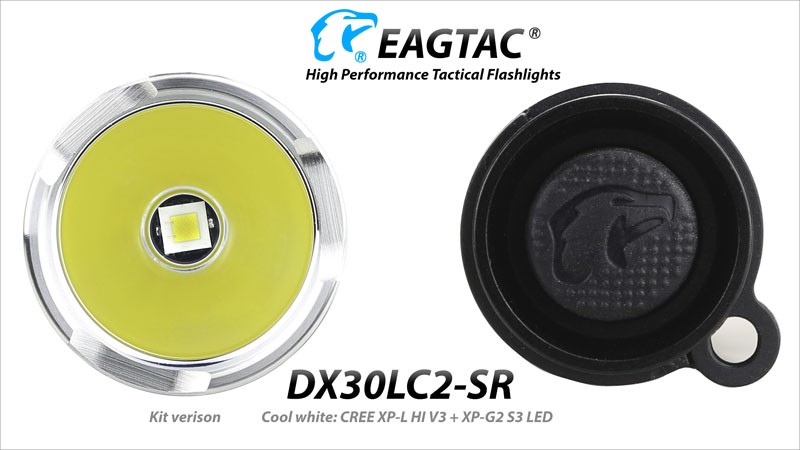
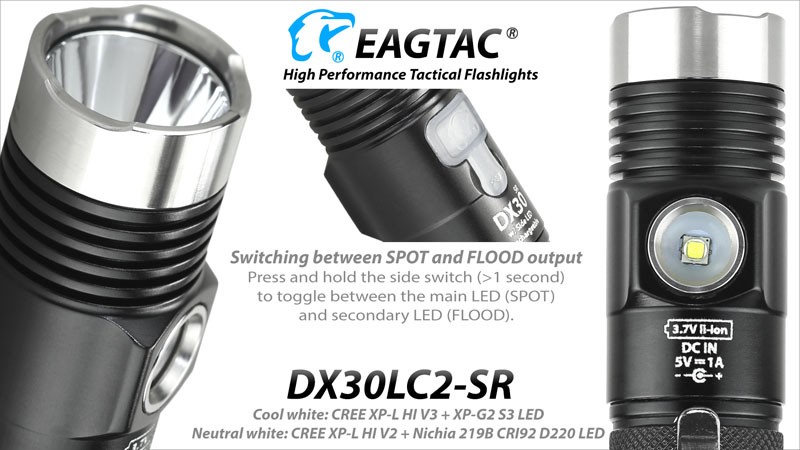
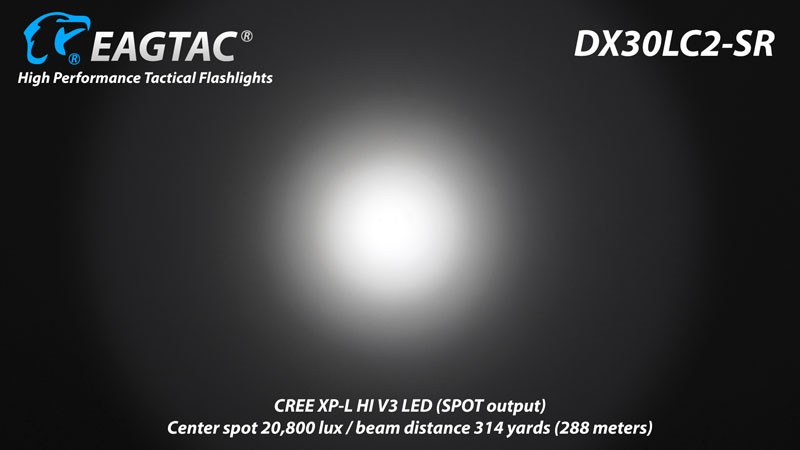
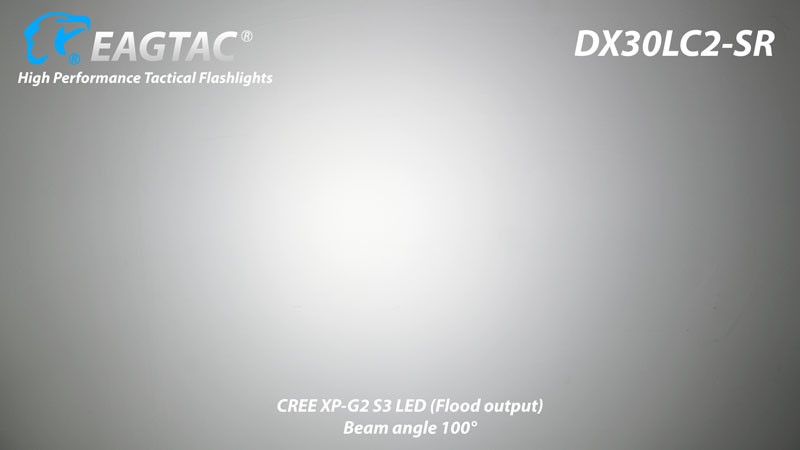
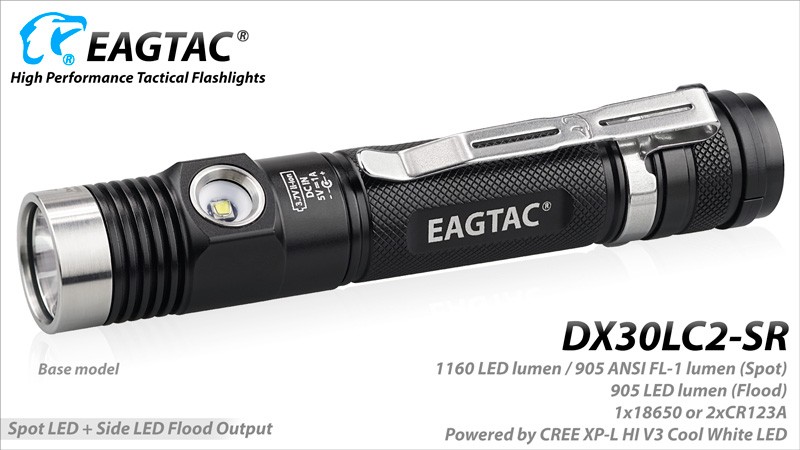
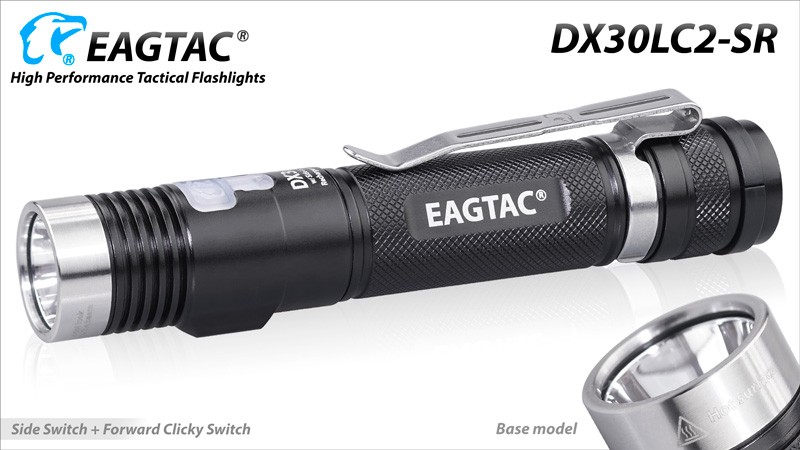
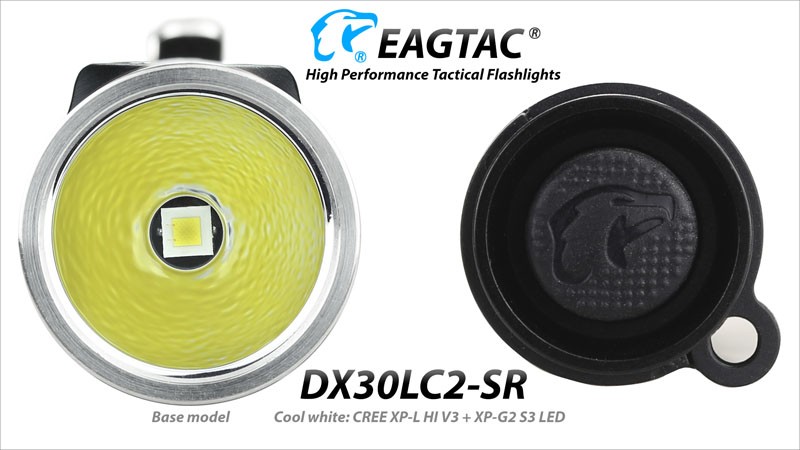
| LED | (Cool White) Spot CREE XP-L HI V3+ Flood CREE XP-G2 S3
|
|---|
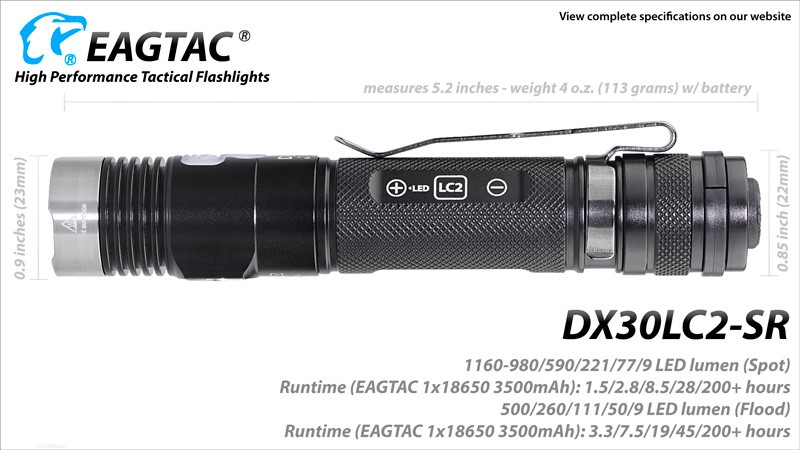
| Max output | 1160 LED lumen /905 ANSI lumen
|
|---|
| Center lux @ 1 meter | 20,800 lux
|
|---|
| Beam distance | 314 yards / 288 meters
|
|---|
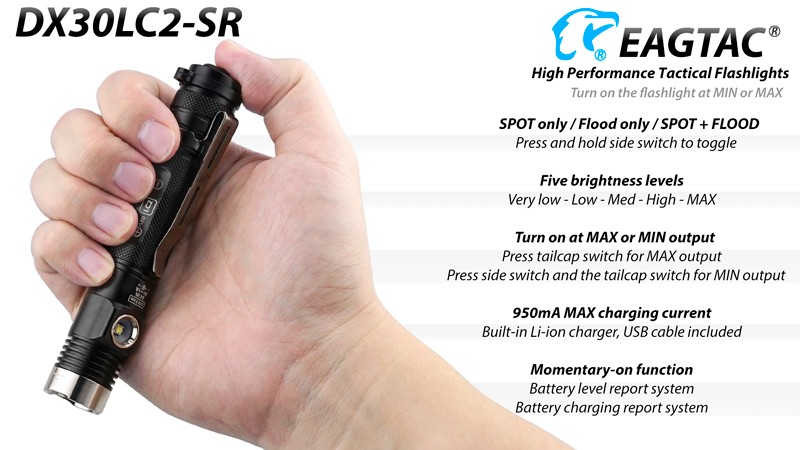
| Output levels | 1160-980/590/221/77/9 LED lumen /905-790/475/178/62/7 ANSI lumen
|
|---|
| Runtime | 3.3/7.5/19/45/200+ hours
|
|---|
|
| Battery |
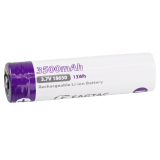
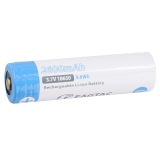
| Battery Type | 18650*1 | CR123A*2
|
|---|
| Battery included | –
|
|---|
| Built-in rechargeable | –
|
|---|
| Operating voltage | 2.7V – 6V
|
|---|
| Battery requirement | –
|
|---|
|
| Control |
| Control Type | –
|
|---|
| Hidden auxiliary outputs | –
|
|---|
|
| Dimensions |
| Body Diameter | 0.85 inches (22 mm)
|
|---|
| Head Diameter | 0.9 inches (23 mm)
|
|---|
| Length | 5.2 inches (132 mm)
|
|---|
| Weight w/o battery | 2.4 ounces (67 grams)
|
|---|
| Weight w/ battery | 4 ounces (113 grams)
|
|---|
|
| Constructions |
| Flashlight Body Material | HAIII hard anodization aerospace aluminum
|
|---|
| Lens | Harden waterwhite glass lens with anti-reflective coating on both side
|
|---|
| Reflector | Smooth aluminum reflector
|
|---|
| Waterproof | IPX-8
|
|---|
|
| Optional LED1 |
| LED (1) | (Neutral White) Spot CREE XP-L HI V2+ Flood Nichia 219B CRI92 D220
|
|---|
| Max output (1) | 1080/390 LED lumen / 842/NA ANSI lumen
|
|---|
| Center lux @ 1 meter (1) | –
|
|---|
| Beam distance (1) | –
|
|---|
| Output levels (1) | 1080-911/549/206/72/8.4 LED lumen / 842-735/442/166/58/6.5 ANSI lumen
|
|---|
| Runtime (1) | 1.5/2.8/8.5/28/200+ hours
|
|---|
|